With over 270 stations and 1.3 billion passengers a year, the London Underground is truly the heart of the city.
The London Underground is, in my opinion, the best and only way to navigate the city. Whether you are a budget-conscious visitor, or simply looking to live like a local during your stay–you, too will learn to love the London Underground.
I will admit, however, that public transportation can be intimidating anywhere, especially when it is so lovingly nicknamed ‘The Tube’. That’s why I’ve created a guide with everything you need to know about the London Underground.
These London Underground tips will have you riding the tube like a local! You never know, someone might even ask you for directions.
You should also have a look at these other helpful articles about London –
- 21 Essential day trips to take from London
- Foodies will love these 17 awesome food markets in London
- 10 cheap or free things to do in London (other than eat!)
- Visit and explore the best museums in London
- 17 places to relax and chill in London
- Save money on accommodations by staying in one of the best hostels in London!
Table of Contents
Riding the London Underground Like a Local
The London Underground Map

In 1908, eight different independent railways merged into a single system– and the first version of the London Underground map was created. This initial attempt to visualize the London Metro was every commuters nightmare. Instead of focusing on legibility, this map emphasized geographical accuracy.
Since then, the London Tube Map has evolved dramatically and is now one of the most universally legible maps in the world. The lines of the London Underground map only go in three directions– horizontal, vertical, and diagonal at 45 degrees.
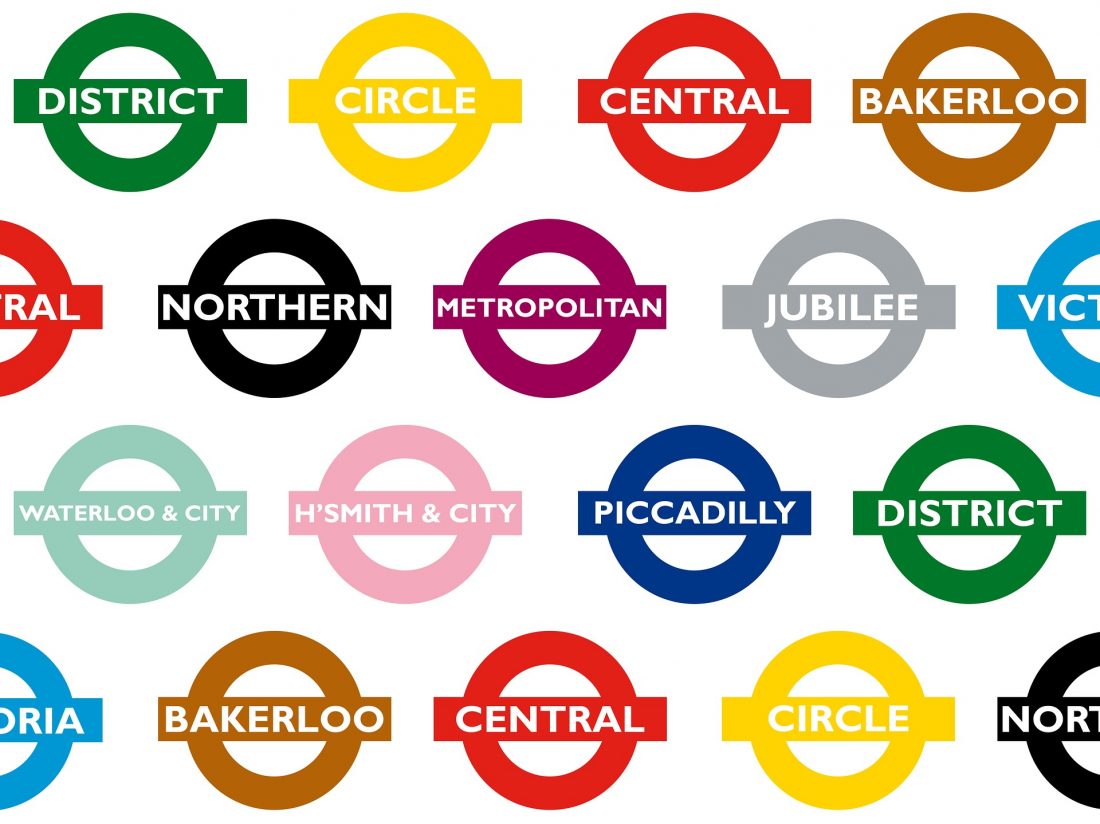
Each station is spaced equally and every line is paired with a unique, corresponding color. At its core, the London Underground Map is a simple diagram that set the standard for many other city maps we see today– Paris, Tokyo and Moscow, just to name a few.
How to Read the London Underground Map
While the history is fascinating, how the heck do you navigate this thing? The first step is simple: figure out where you are on the Tube map and where you need to go. While the station names are small and there are quite a few of them, once you pinpoint your destination everything will fall into place.
Each colored line on the map represents a different train ‘line’. These lines have official names that can be confusing at first, but are pretty vital in navigating your way through the city. For example, the black line on the map is the “Northern” line. While this line does go north, it also goes south, which can be a little unintuitive. The “Circle” line, which is yellow on the tube map, is similarly confusing. While these trains do move in a circular direction, it is not complete. So you cannot, for example, end up back at the station you started off at by simply staying on the line.
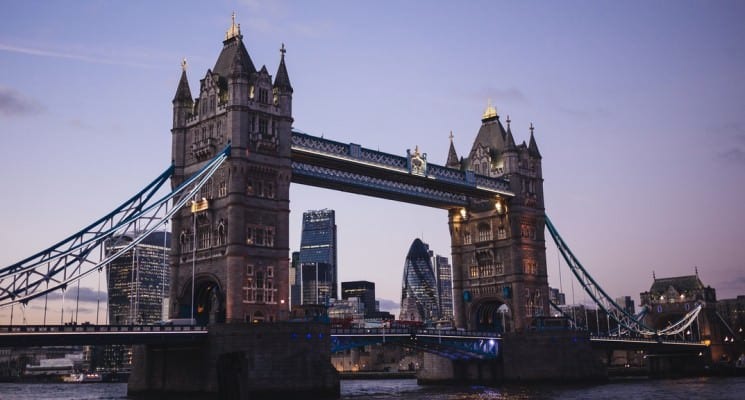
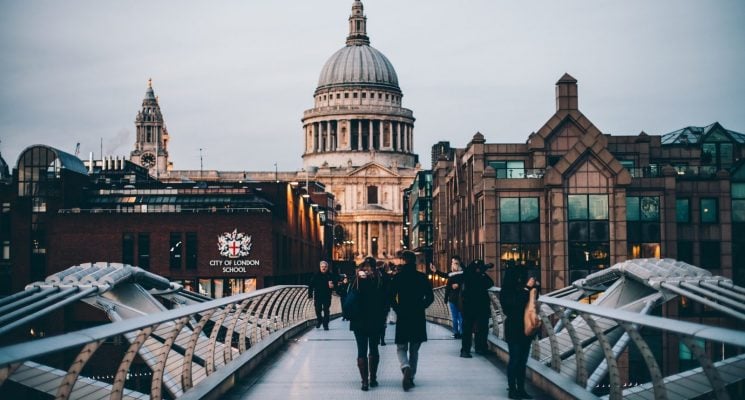
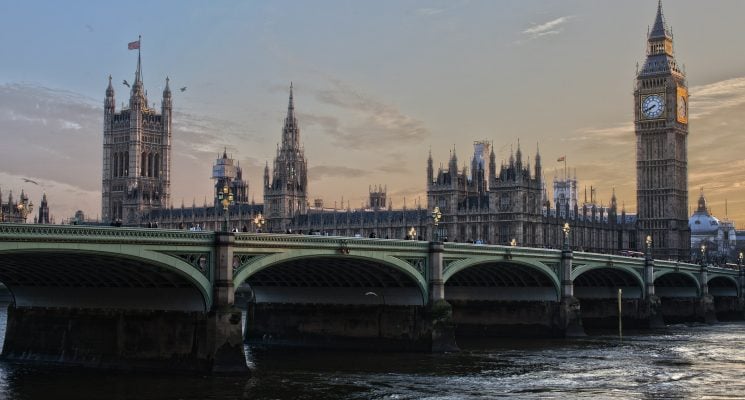
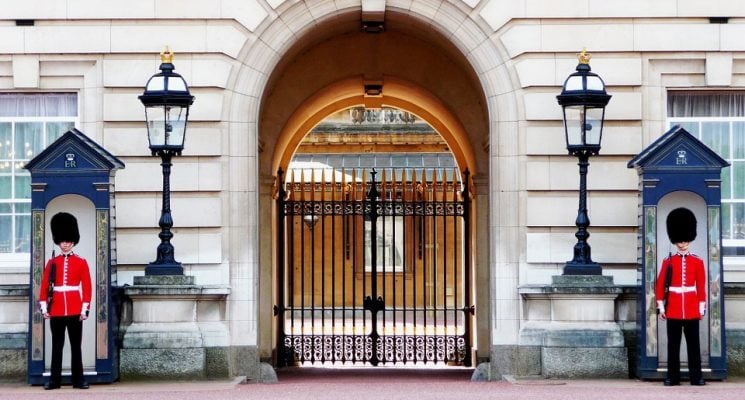
The Circle line, although initially a little confusing, is a great way to define your destination. By looking closely at the Underground map, you can see that the densest area is actually inside the yellow tube line. This is where you will find traditional tourist sites such as Big Ben, the London Eye, Buckingham Palace and the Tower of London. Hyde Park, Kings Cross and Trafalgar Square are also located in this main region, not to mention countless museums, restaurants, and stores. Visitors looking for a traditional London experience will spend the most time in this area, also known as ‘Zone 1’.
London Underground Map Symbols and Transfers
Now that the colors are a little more clear, it is important to take note of the symbols that appear on the London Underground Map. Circles, of course, represent stations. When two or more lines are attached to one circle, this simply means that multiple lines stop at that station.
This is extremely helpful, especially if your route requires a transfer.
The small wheelchair symbols represent step-free access, which can be found at 72 stations throughout London.
The red dashes next to some station names illustrate accessibility to the National Rail, a rail service that will take you anywhere from Westminster to Edinburg. These tickets must be purchased separately, of course.
Entering the London Underground
Reading the map is one thing, now it’s time to actually enter the London Underground!
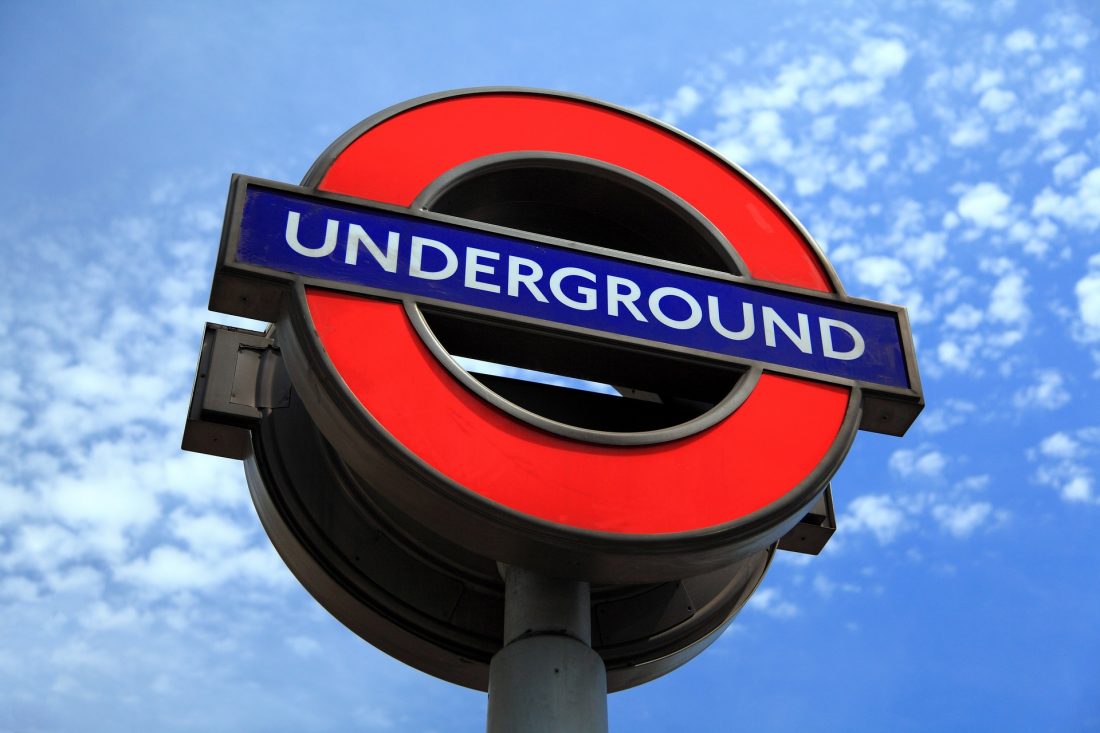
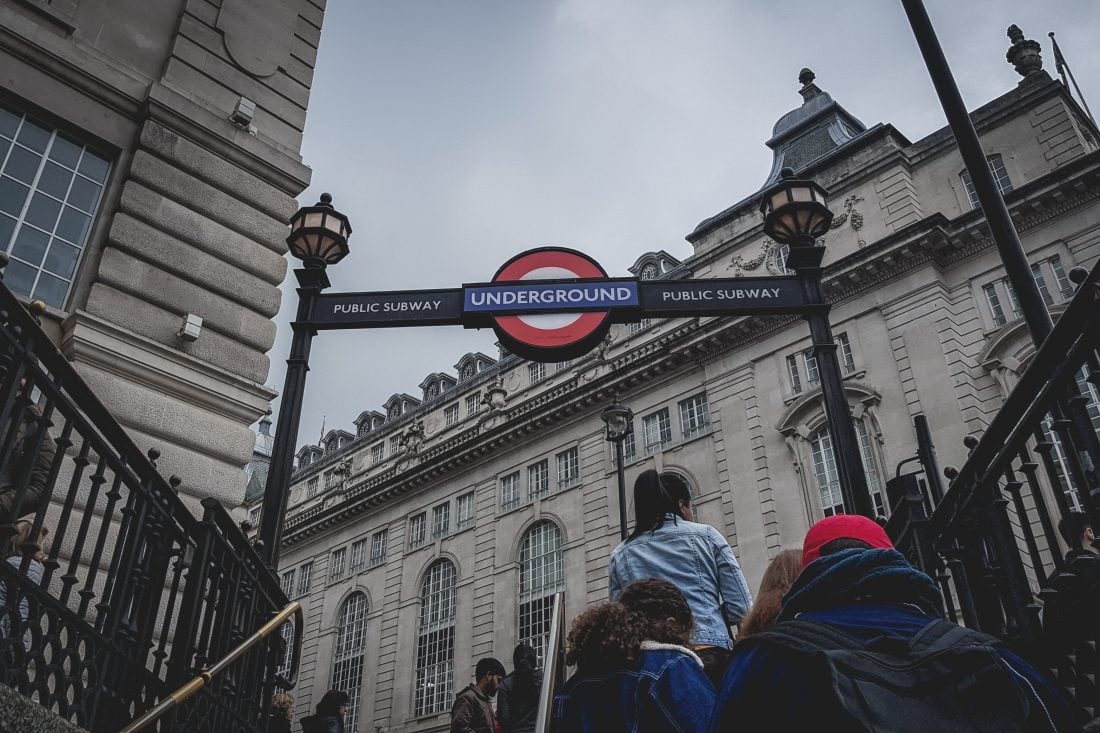
The best way to identify an Underground entrance at street level is the unmistakable Underground Sign. This thick, red circle with a blue bar through the middle is a cultural icon of the London Tube– and is marketed as such. In fact, you can pick up socks, ties, t-shirts and more, all printed with this iconic symbol, at any corner tourist shop. Trust me when I say, you can’t miss it.
Typically, the name of the station will be near the entrance as well. The lines that stop there, however, are not usually posted. That’s where your map comes in! By identifying the nearest station on the map, you can simply check what colored lines are connected to that station and you will be on your way. Like I mentioned, since most lines run in both directions you will be able to find which train you need once you are already underground.
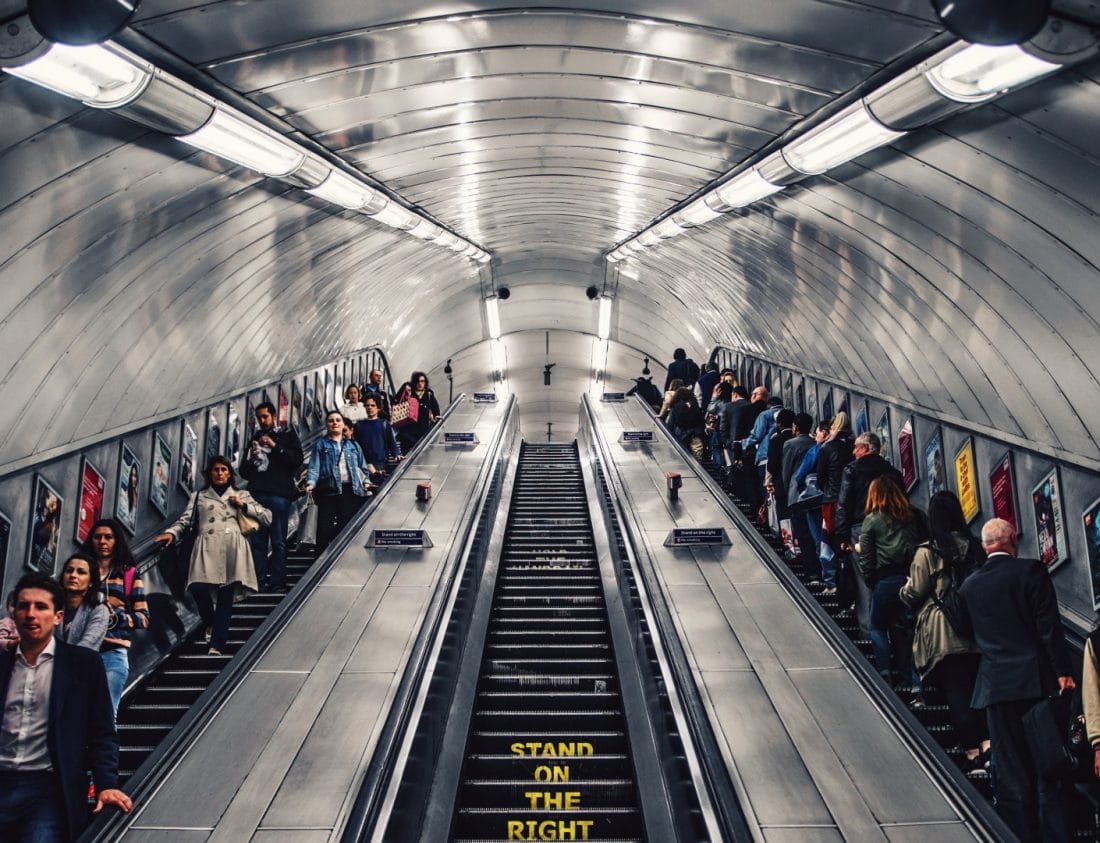
Once you make your way to the entrance, remember, do not stand on the left side of the escalators. Walk on the left, stand on the right. Most tube stations have a decent ride to the bottom, and if you are standing in a Londoner’s way, expect to be politely sighed at.
The London Oyster Card
Where & How to Buy a London Oyster Card
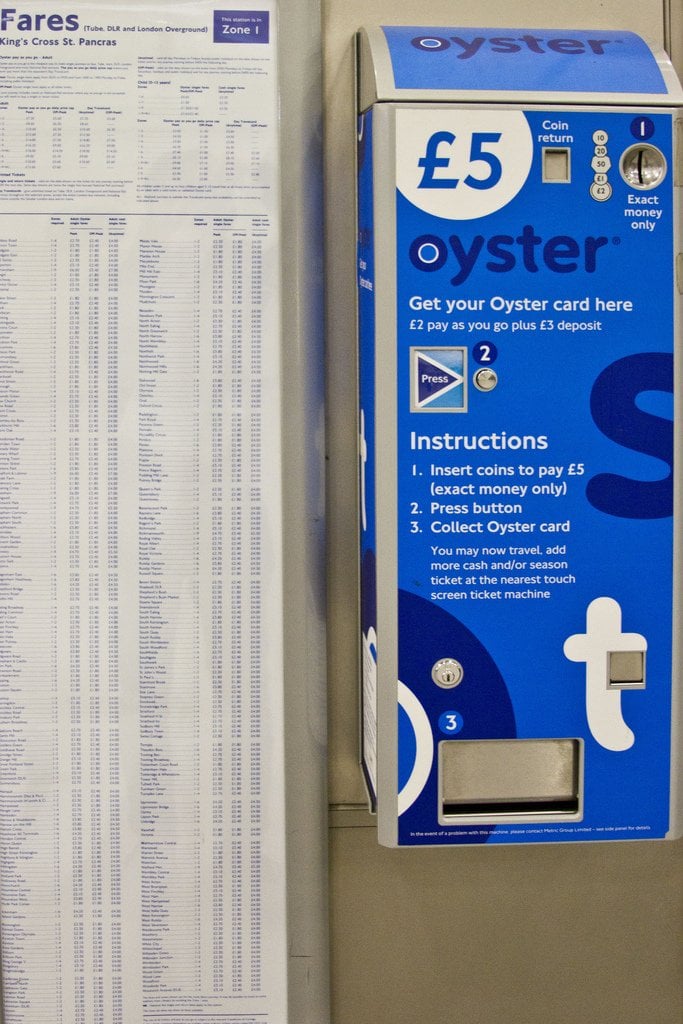
The easiest way to buy a ticket for the London Underground– also known as an Oyster Card– is at a London Tube station. Once you make it underground you will most likely see a few tall, metal boxes built into the tiled walls. They are typically marked with a bright blue ‘Tickets’. If not, just follow the line of people!
Oyster ticket stops are also a great option for purchasing an Oyster Card. These are typically small bodegas or pharmacies, but will be marked with a small ticket symbol outside. If not, you can simply ask at the counter– chances are, they sell Oyster Cards! Visitor Centers and Airports also sell Oyster Cards–and London metro maps– for the same price. As a side note, if you already live in the UK, you can buy an Oyster Card online and have it delivered to your house before you leave for London! So convenient.
Lastly, just to keep in mind, if you have a contactless payment card– so debit, or credit card– you really don’t even need to purchase an Oyster card! Just tap your card on the payment pad at the gate and you will be automatically charged for one ride. Just don’t forget to tap on the way out! London tube prices can be high if you forget to tap out when exiting the underground.
Different Fare Options
There are many different options in purchasing an Oyster Card. Finding the most economical option is really dependent on the time frame of your stay.
- Single Day Travel Card: If you are only in the city for a single day and would like to see as much as possible, I would suggest a Single Day Travel Card. These are €12.00 and can be purchased at any of the previously mentioned locations including tube stations, Oyster ticket stops, or airports. They are a paper card and allow you to ride the tube as much as you like for a single, base price.
- Seven Day Travel Card: A Seven Day Travel Card is a little pricier but provides you unlimited service on the metro for seven days. At €49.00, the Seven Day Travel Card is a great option for visitors spending five or more days in London.
- Prepaid Monthly Oyster Card: A prepaid, monthly Oyster Card is most helpful if you are staying in London for a longer period of time and intend to ride the tube at least once a day. This option is €131.00, but is actually a very smart option if you will be riding the London Underground on a consistent basis.
- Pay-as-You-Go Option: If you are somewhere in between one of these deals– which many visitors are– and only staying in London for three or four days, I would suggest a pay-as-you-go card. This is just a basic Oyster Card that you load money onto as you ride. While it will require more “top-offs” than a prepaid card, you won’t waste any of your hard earned cash by choosing an overpriced, pre-paid option that doesn’t fit your needs. I would start with €20.00 and go from there.
How to Use Your London Oyster Card, Step by Step
Using your Oyster Card is the simplest part of this process. Simply touch the card on the yellow card reader at the gates at the beginning and end of your journey. This will not only ensure your entrance, but it will automatically charge you the correct fair based on the length of your ride. If you don’t tap out at the end of your journey you will get charged a penalty fare.
Tips for London Underground (and not looking like a tourist)
- Ask for directions! While Londoners aren’t always the ones to initiate contact, they are extraordinarily polite and will almost always point you in the right direction– if not walk you there themselves! Just make sure you have the lingo right. Filling up your card is “topping off”, and you are looking for “the tube”– not the subway or metro!
- Stand on the right, walk on the left. I can’t emphasize this one enough. It is an unspoken rule of almost any city, but is taken very seriously on London’s steep, long escalators.
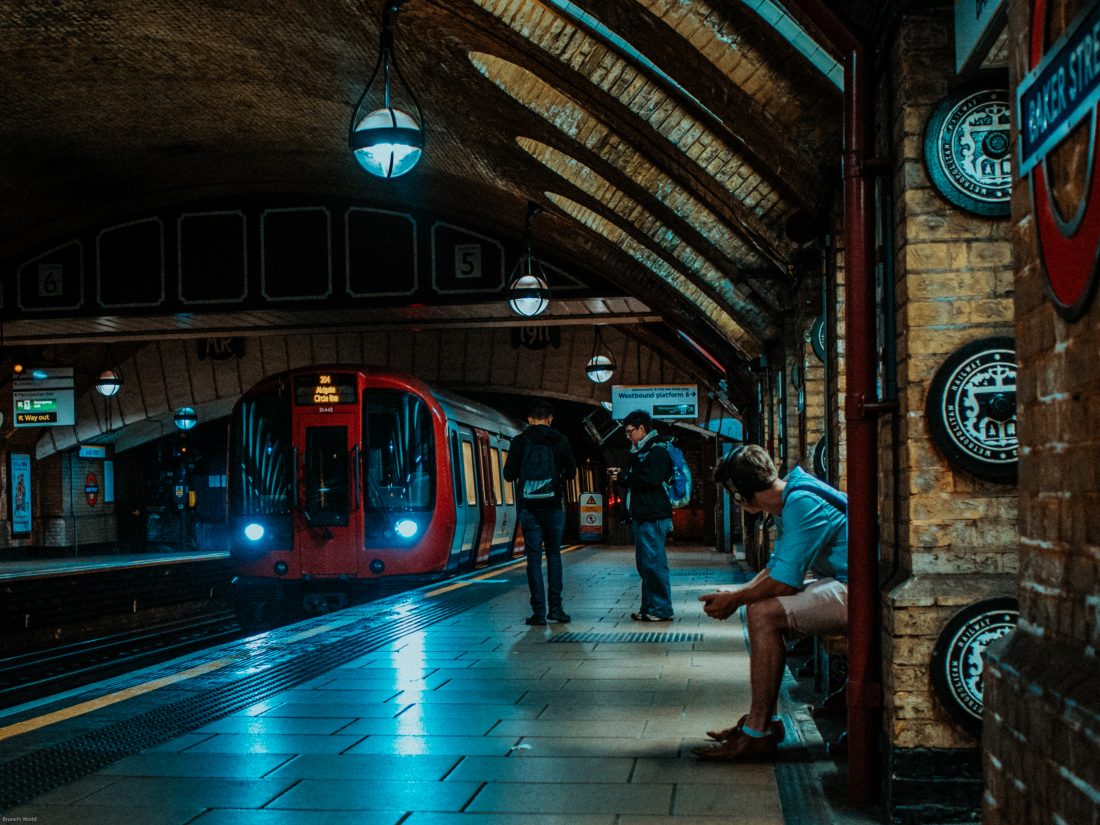
- Step aside. When entering a car on the London Underground, remember to stand to the side and let passengers exit before you get on– it’s just common courtesy and makes the whole process of boarding so much smoother. When you are trying to get off the train later you will be so grateful for this rule!
- Keep it down. Most Londoners keep chit-chat to a minimum on the tube. If there is a loud group of animated travelers, they’re most likely tourists!
- Don’t stare. Like any major city, you will see some pretty out of the ordinary things on public transportation! That said, eye contact on the tube is kind of a no-go. Londoners tend to keep to themselves and if you are intently watching everyone in your car, people will get uncomfortable.
- Remember, don’t panic. There are always tube maps posted inside the train cars. If you get on and don’t know where your stop is, don’t worry! Just make your way to the map and track your location.
- Avoid rush hour! The morning rush hour is especially brutal in London. I would suggest trying to avoid the tube all together between 8-10am and 5-7pm. Of course, this isn’t always possible, so be prepared for long waits and crowded cars. You might find yourself waiting on the platform for three or four trains to go by before you can fit on!
- CityMapper is your savior. There is a huge range of wayfinding apps out there and I have tried just about all of them. While Google and Apple Maps are both great, CityMapper’s routes cannot be beat. Even better, the app is free and you can even download your route before you leave, so wifi is never an issue. Download CityMapper right now!
- Pay attention to service changes. London Underground hours– and sometimes even the routes– change on weekends and nights, so keep that in mind when planning your trip! They fluctuate based on season, but you can find the current routes and hours online at Transport for London’s Website here. CityMapper will also track this information for you, which is incredibly helpful.
- Watch your bag. London is an incredibly safe city, and public transportation is very well taken care of and well policed. That doesn’t mean, however, you should have your iPhone or wallet sticking out of your backpack or purse! Keep your belongings in front of you and all your valuables in zippered, interior pockets.
- That said, please take off your backpack. It is pretty impolite to keep your bulky backpack on your back on a crowded train. Same goes with large purses! Not to mention it makes you even more susceptible to theft.
- Clear the entrance. Remember to move all the way into the car once you get on, don’t stand at the entrance. It is important that everyone has a chance to board.
- Relax. You are in one of the most incredible cities in the world, the London Underground is simply a tool for you to better enjoy it.
- And lastly, mind the gap!
Getting to/from Heathrow with the Tube
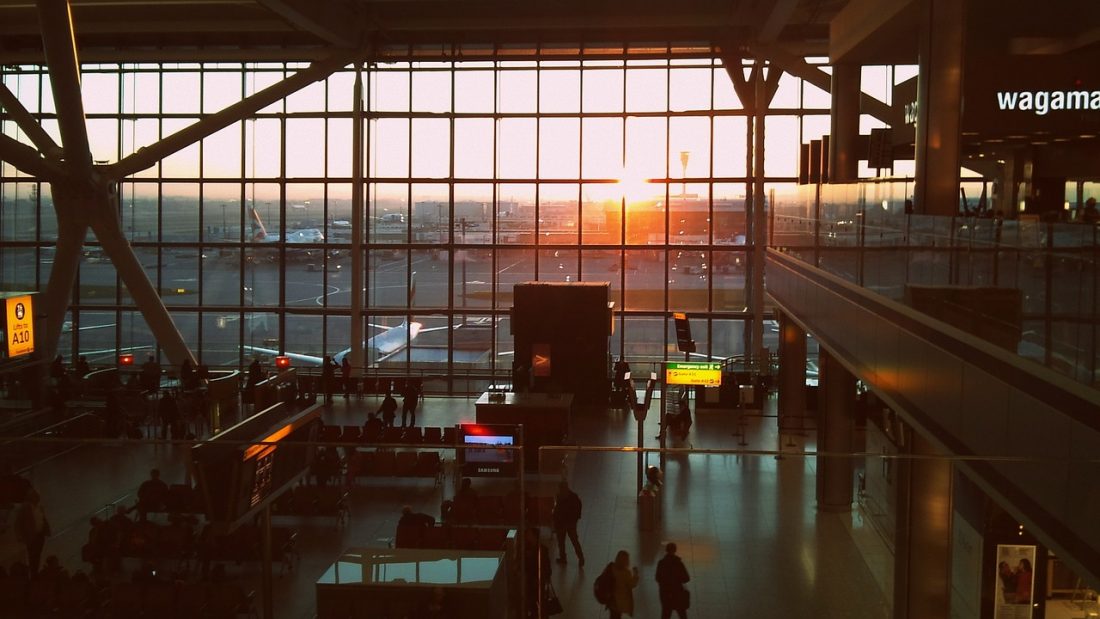
Heathrow is fantastic. It is not, however the only airport near London. It is one of six, and each is accessible by public transportation. That’s why the first thing to note in getting to and from Heathrow via the tube is make sure you are headed to the correct airport! It sounds obvious, but transport for London is notorious for sending visitors to the wrong airport. Double and triple check your destination!
The tube is actually far quicker– and cheaper!– than driving to or from Heathrow. Even during rush hour, travel time will be under an hour and you should never wait more than 10 minutes for a train. London Underground’s Piccadilly Line (dark purple on the map) is the most convenient rail route between Heathrow and London.
Getting to London from Heathrow
Heathrow has three London Underground stations– one for Terminals 2 and 3 and one at both Terminal 4 and 5. Any will get you into central London in no time!
The quickest way to get to London from Heathrow is the Heathrow Express. Non-stop trains run to the Paddington station every 15 minutes and travel time is only 15 minutes to the airport. The Heathrow Express drops off at Terminals 2, 3, and 5 and a one way ticket is €25.00 during peak hours and €22.00 during off-peak hours– meaning weekends and evenings.
If you are looking for a more budget friendly option, however, the regular London Underground is still a great choice. The Piccadilly Line runs from all terminals in just under an hour– and you can even use your regular Oyster card!
Getting to Heathrow from London
If you need to get to the airport very quickly the Heathrow Express is by far your best option. Once again, you will be to Heathrow in just 15 minutes and a single ride is €25.00 during the week, €22.00 during on the weekend and evenings.
The London Underground is another, more cost effective option to get to Heathrow. Underground signs are very well marked and they sell one way tickets at every entrance. Even better, on Fridays and Saturdays the Piccadilly Line operates 24-hours, so even if you are coming at a strange time you will be able to catch a train no problem. They run every 10 minutes from Terminals 2, 3 and 5.
With this information, you have everything you need to navigate London like a local! Get out there and as always, mind the gap.
Ready to explore London on a budget? Check our guide to the Top Budget Friendly Things to Do in London and our Guide to the Best (Free) Museums in London!
Like This Article? Pin It!
Everything You Need to Know to Visit Prague!
![]()


Hi
Explained all details nicely for first timers like me to venture out in tube confidently.
I hv a q, as I am traveling to london with my wife and Wud carry quite a few more baggeges, will it be possible to travel by tube from Heathrow to Wembley central hotel, where I plan to put up.
Pl help.